
We got an intro to recording in a post, and this time we’ll go a little more in depth to recording with one of the methods discussed. To me, direct-in means to have an instrument connected directly to an interface, without a microphone. You can still put in pedals into your chain to color your tone, or you can go with a bone dry signal.
Wet or Dry??
When you think of “dry” you can think of a bone. Nothing is added to the bone, but in of itself it can be used to create a great stew. In recording, our bone is our “core” tone of the instrument. It’s the sound of a clean amp, it can be the typical tone one might imagine with jazz. You plug into the sound “output-er” (it can be an amp, a PA or an interface, anything that has an input does something with the instrument’s signal whether recording or outputting) and essentially only mess with your highs, mids, and lows, however the options you may have are described (some amps have all 3 EQs, some have a full band EQ like 10 sliders, and some have a single “tone knob” to encompass the sonic space of the amp.) For some people “dry” would mean to plug in with the knobs at 12 o’ clock or have an interface that takes a signal without a knob for altering the EQ, only the input volume, and for some, dry means to only use non-modulating effects like distortion, overdrive, fuzz etc. The purpose of the dry recording is to have something you can color later on with fine tuning. You record dry so you can “wet” it later.
A wet signal is usually the sound, as you envision with modulations and all, as the end result in your signal. Modulation effects include things like delay, flanger, pitch shifters, chorus etc. I will go more in depth in what they are, and how they work soon. For now it is thought as the effects that might need more fine tuning. You might need a delay that works to a different setting than you normally are set up for, tap tempo on your pedal can be tedious compared to setting a good delay sound in the DAW and setting the time in post to a set BPM or Ms so nothing will be lost when you want to tweak your tone after the recording.
So, going dry, we think of making the stew with just the bone and add the ingredients to fill it up after the stew is made to make the meal. Going wet is the putting the bone with the ingredients to cook at the same time. In the end, it’s about the salt, are you going to over salt the stew in the pot or prepare it a little under to add to the dish served? A ruined pot is worse than a ruined bowl. In recording, we added a lot of effect to the audio from the start (over salting, here maybe putting too much drive) and we can’t recover that (try the potato hack for the stew, but potatoes won’t work for recording. You can’t de-distort with a potato in the mix somewhere or anything after you captured the over-distorted audio, if there is, it would clear voice scramblers and make those voices for interviews go from sounding like they inhaled sulfur hexafluoride to their real identity, it’s more than just pitch shifting the source audio)
What You Need To Get Started
Audio Interface
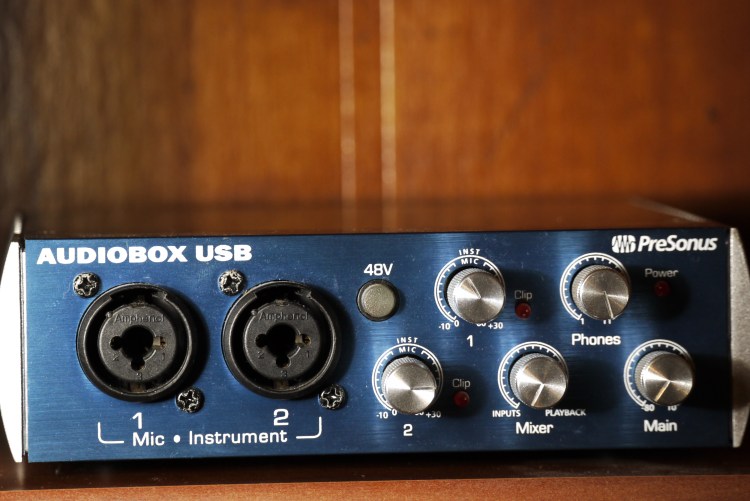
We need this to capture our analogue audio and digitize it into an audio format the computer system and recording software can recognize. It goes from vibration you can feel to enough 1’s and 0’s to make a .wav file (or your preferred format, they each have different compression values for very different bit rates.)
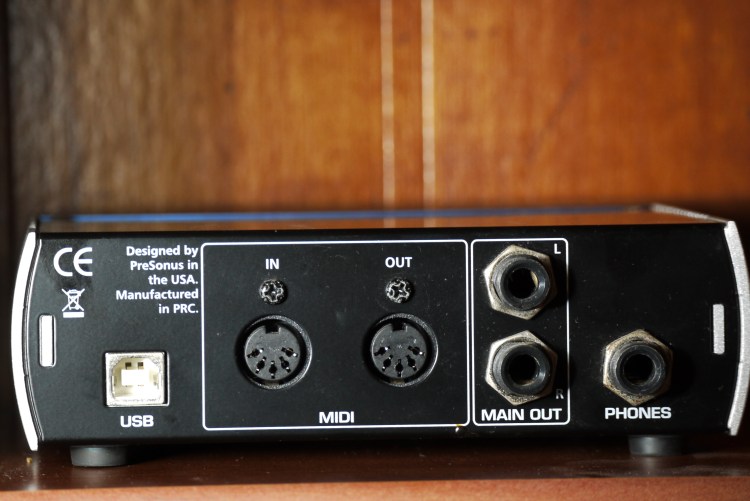
This device also routes the ins and outs of your audio signal, the outs are just in the back. Want to connect your electric violin? It’ll receive it through the connections in the front. Want to hear it? Connect headphones into the “PHONES” port or the combination left/right “MAIN OUT” to monitor speakers. You could also set your DAW to output audio through your computer speakers, but having something built for processing audio, at better quality, is the more reliable route. Some computer’s built-in audio interfaces may not be good, some might, but an interface like this assures you minimal colorization.
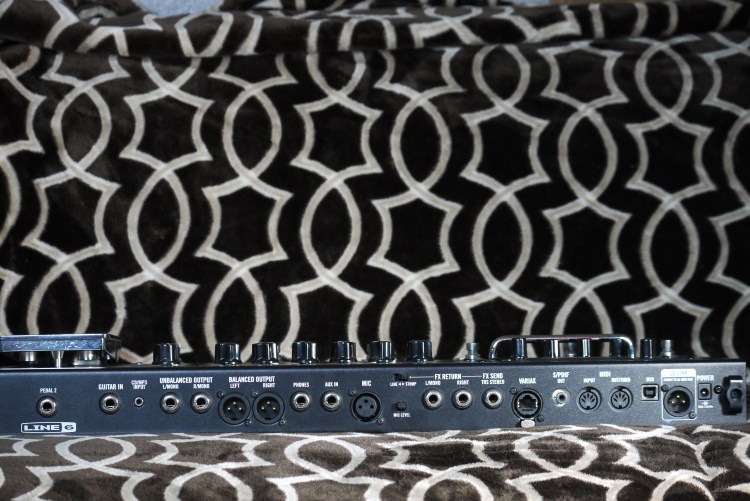
There are also other things you can use as a digital interface to route audio for recording and listening. One way I sometimes record is with my multi-effects unit. The one above has lots of ins and outs. Connect the USB cable, download the appropriate drivers, and it’ll be your digital interface to work with your software. Connect you instrument and source of output audio and you’re set!
Instrument Cable(s)
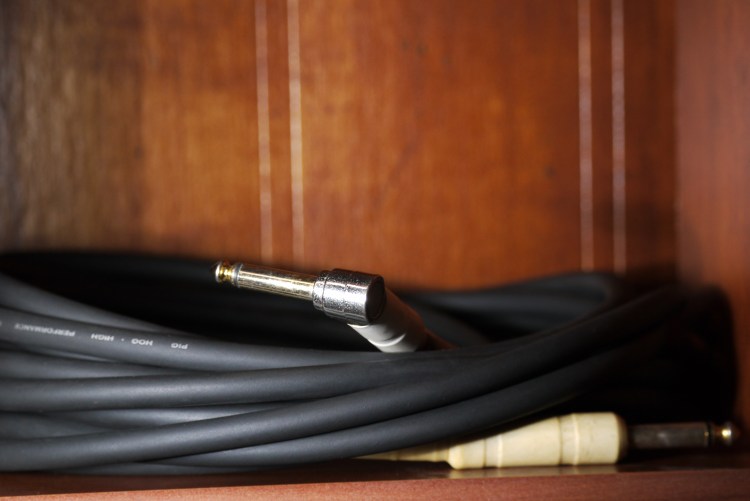
You need something to route your audio, ins and outs. From your instrument to a speaker that gives vibrations.
Your Instrument

You need something to give you something to capture! You want something with electronics (pickups) that can be transferred from the output connector up top to your device to record. If it doesn’t have that, then you’re not going direct-in with the interface, you’re needing to mic things up, there ain’t no electric clarinet.
Software
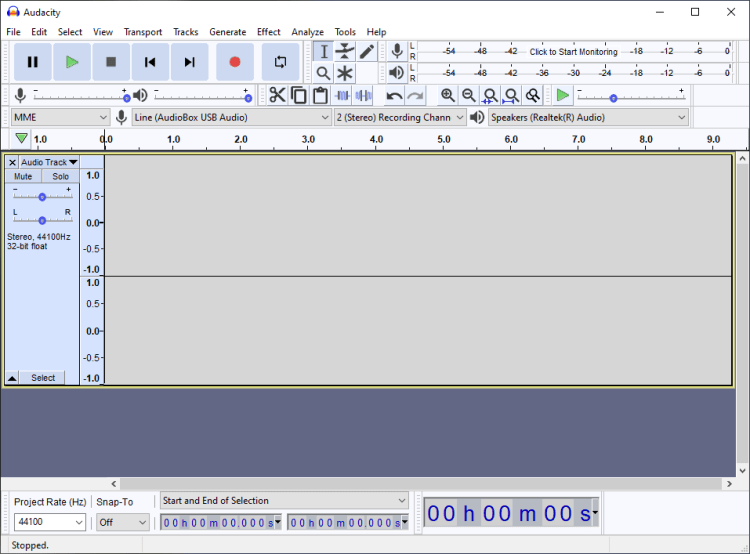
This is where wars are formed (just kidding, kinda…) The software you choose affects your workflow, though their fundamental functions remain the same. There’s little quirks that irk people or make it a favorite for another user. That’s all down to personal choice. Some are as basic as a recording software like audacity (which is surprisingly powerful but light) or more feature rich software like StudioOne, Pro Tools, Cubase, CakeWalk, Waveform, Ardour, Reaper and many more with advanced plugins, MIDI sound banks and much more. I like messing with freeware and open source software, free is the best price to pay. It’s the philosophy of freeware/open source software, though they always accept donations. It takes a ton of hours to make a program to record the sound of you eating cereal to sample and make the next avant-garde aural experiment.
My only note would be to avoid quantization of your music. Many DAWs have that as an option on by default and, in my opinion, ruins the organic nature of playing. You can use a touch, but don’t let it be a crutch. This is a pretty intensive topic that I will discuss later on. Just for a little reference, that is what makes what you recorded hit everything ON the beat, even if you didn’t when you actually recorded it. It’s the nature of electronic music with its programming, to a certain extent, not an instrument with analogue vibrations. A drummer’s (and other musicians’) “feel” of rhythm is something that defines them, do they hit on the beat, maybe a little before or after? Quantization makes sounds become homogeneous, the kick drum needs to breathe sometimes or hit a note off-beat, and quantization removes a bit of the organic nature of the instruments.
Setting Up Your Recording Session
Preface
When traditionally recording with a microphone, one needs a quiet room to record. The clock ticking or the fan blowing can disrupt your recording session. Not with direct-in recording. The goal is to get as unadulterated a tone as possible, and direct-in does it best without interference. The TV won’t get picked up, but you being distracted by it could be evident in your playing. The kind of microphone you get and its positioning setup bring in so many variables that it can make you go crazy, it’s why there are pros who mic up rigs for live shows or recording sessions and that’s their sole job. Maybe just a little off the grill 2.3mm, and 3.4in off the center to the upper-upper right, cuz every other direction makes it sound like farts (I’m being a little facetious, but it really can get intricate like that for some people.) In both of those situations, there will be an audio interface in the mix routing the ins and outs of the venue’s/studio’s sound. For this scenario, we want to minimize distraction, noise won’t be as big an issue (though there are some pickups/electronics that might pick up the sound of radio frequencies, certain light bulbs and even voices.)
Do Hardware First
Connect you cables in and out to where you want them to go and come from.
Connect the USB to your computer, and get your drivers to make the unit familiarized with your system (type in the model unit you have on your preferred search engine with the word “driver” and look for a link from the company that made your unit, there can be some sneaky people messing with what one thinks are legit drivers, verify your sources. Though sometimes it can be configured automatically if it uses a common driver.)
Connect your preferred output source, from the unit to your choice for output (headphones, monitors etc.)
Then get your instrument hooked up to you the interface. For the driest signal you connect your instrument directly to your audio interface. If you have pedals, put them in before the interface if that’s how you want to record. You could also be sneaky and put your effects AFTER the interface unit so you can hear the sound rigged out or for reference of around where you want to go, but record with a clean direct-in before it hits the pedals. Something to consider is that you will need to make sure your unit can push the pedals adequately enough.
Software Setup
Installing most programs follow the same steps. If you found a program and have trouble installing it, the program’s site should have a page with directions to install and do the initial setup. In the initial setup you can choose your audio interface then to link the hardware with the software. We’ll look from the point of a program already installed and you want to setup your interface you added after you setup your program.
The kind of program we want to work with, if we want more than simple record, stop and minimal editing options, are called DAWs (Digital Audio Workstations.) Look into a DAW that works with your operating system. Some computers come with official recording software like GarageBand for Macs. You should give a couple a try, sometimes the first one is a little too deep to begin your recording journey with.
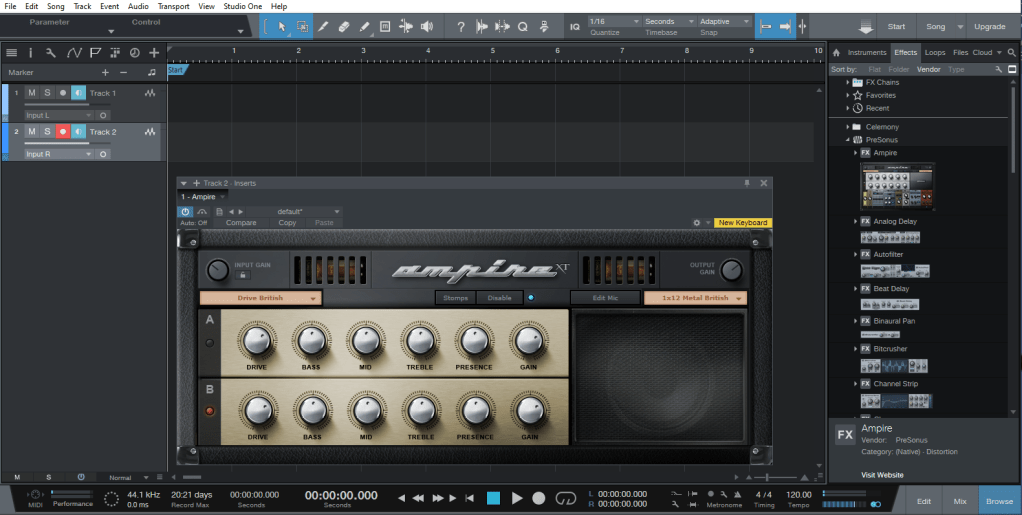
The one I am using above is StudioOne by Presonus. It’s an outdated version, but the functions are good enough for me. In the image I have an amp simulator that comes with the DAW. This is where going as dry as possible is good. Your manipulation can be done through the digital amp in the DAW. There has always been the debate between analogue and digital for music, but in the modern times, digital amp technology has made tremendous progress. The one that comes with your DAW is usually a little basic, there will be some add-ons you can get for a better tone, but as someone starting out, the one you have access to is perfect for the moment. The minutiae between 16-bit and 32-bit may not be apparent when you’re starting off, though you may need an amp sim with more gain and compression to do some chugging. A Jazz chorus type amp can’t hit the death metal tones you want without assistance or modifications like an Engl or a Mesa-Boogie sim can. The goal of amp sims is to simulate amps. Messing with what comes with your DAW can introduce you to a whole world of amp characteristics. They might have a weird name, but the company making it usually alludes to the actual model being modeled after, or might have a list describing the inspiration for the model in the DAW.
Levels Setup (Pre-Amps)
When we started, we were talking about getting a good core tone. Your audio interface might have an LED to let you know when your input is clipping/distorting (mine has LED lights with the word “Clip” over the knob for each input’s volume (labeled as 1 and 2 for each input)). This variable is known the pre-amp, because these “core” settings are what is going through the amp sim in the DAW. Start too distorted for the “core” tone going in to a simulated distorted amp can make for too much distortion for note clarity in the end result. I like to have the interface’s input level heightened so when you hit the strings with your hardest hits it will barely clip, but not when playing softly. You need a strong signal to get the most out of your recording and the dynamics of your playing, while avoiding the clipping/distortion.
Start Recording
You got things set up now! Press record and make lots of mistakes, but learn from them. This start is for you to get experience, your first track sounds alright now, then when you develop as a musician you will see your progression before your own ears. That first one you made probably really wasn’t “alright” but it’ll hold a special place in your heart. Don’t be scared to record an idea, keep that project somewhere to come back to later on to develop it. Many bands have songs written that they don’t put on an album until years and other albums later, working on how the heck an idea they came up with can be completed. They are also working on something that doesn’t come out until they are confident in it, but they continue. At the very least, that terrible idea can be stored on a flash drive, and then throw the flash drive in a drawer never to be seen until you clean out, check out what’s in it and be amazed at the thought in that moment of time.
Learn Your Program’s Functions
Every program tends to have the record and play buttons front and center, but every program can do more than that. Learning to do splits and cuts will help make your music more cohesive when it’s exported from the DAW. Learning your DAW will help create the music with all the flourishes you have in mind come into fruition. Back in the day, a cut in the track involved real scissors cutting tapes, leaving things on the “cutting floor”. Now you just point and perform the action in your DAW, no dangerous sharp utensils needed.
Coming Soon
Effects- I will go into detail of the nature and philosophy one can take in adding effects into their signal chain. With some posts that will focus on specific effects solely.
DAW Actions- I brought up cutting and splitting, I will go over some of the specifics in how to approach the finer details of your recordings
