
There are several approaches to recording for different purposes, and today we’ll go over a couple.
Before You Reach The Record Button
Something to consider would be your space/environment. You don’t need to set up a space of soundproof where you can hear your own heartbeat, you just don’t want something (or someone) being louder than the sound of the instrument you want to record. Though your neighbors and others around you would greatly appreciate it if you do some DIY soundproofing. Some egg cartons and patches of carpet go a long way if you don’t want to get pro foam material just yet…
If you want to capture the reverb of the room or the driest signal of your instrument, you then have to consider the additional variable of mic placement. Consider how the room sounds, if you record yourself in a tiled space, like a bathroom, there’s a certain tone the room gives off compared to recording in a carpeted room. If you put a microphone too close you might hear sounds you don’t want, a poorly placed microphone could potentially capture the sounds of hitting the instrument (whether picking a guitar, the keys on a piano, or the valves of a trumpet) or you’ll get spikes in your audio levels you definitely don’t want. The idea that every variable is an important factor is entirely dependent on you, sometimes you just want to capture what you want; at the very least you want it audible.
Let me preface the methods by saying the order of them by no means gives them any sort of priority by myself. Try everything you can to find what works best for you. Experiment!
I will have a proper video demo for each method soon
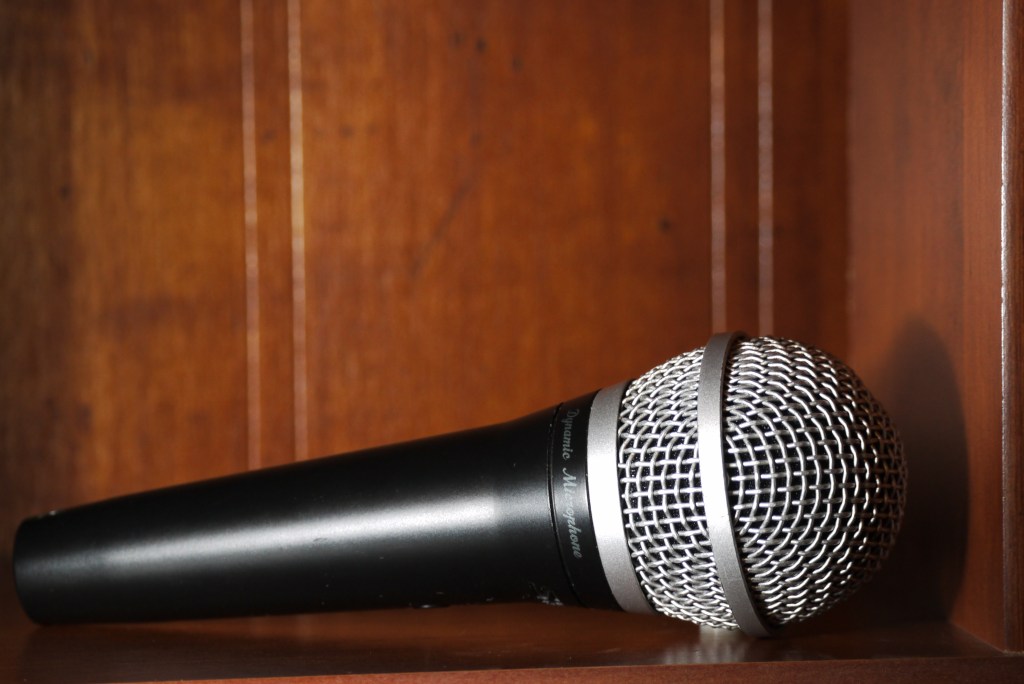
Method 1: Mic Through Digital Audio Interface
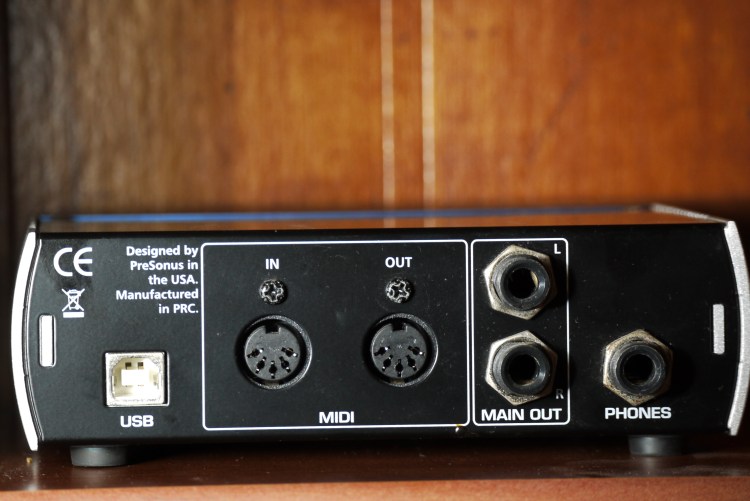
It’s the standard way to record your music. You might imagine something like the image below to be what you need to record yourself properly

It has a whole lotta ins and outs to make sure anything you have could be recorded or heard well in a specific environment. You might need something with more inputs if you are recording drums and want each individual part mic’d up, even then it might be thought of as overkill. Bigger models like this are usually either for big studios or places that host events (concerts, clubs, expos, anywhere sound needs to be even and live) Regardless, no need to go the fancy route when starting out.
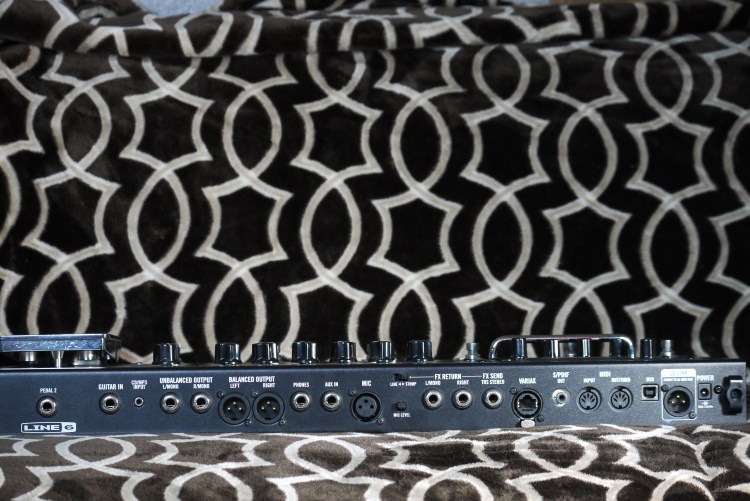
I personally use the one below. There are many brands and models with devout followings that will say one “obviously” beats the other. In reality, when you’re starting off, the one you have access to is the one that’s best.
I will go in depth of the connections for setting up your interface in a future blog. For now this is a device that converts analogue signals to the digital realm to record in your favorite software

You’ll get different software with hardware. The one you start with usually is the one you’ll be most comfortable with, but don’t be scared to use one brand’s hardware with another brand’s software. Try anything you can get your hands on to record with. There are lots of software you can get trials of and lots of open source and free software.
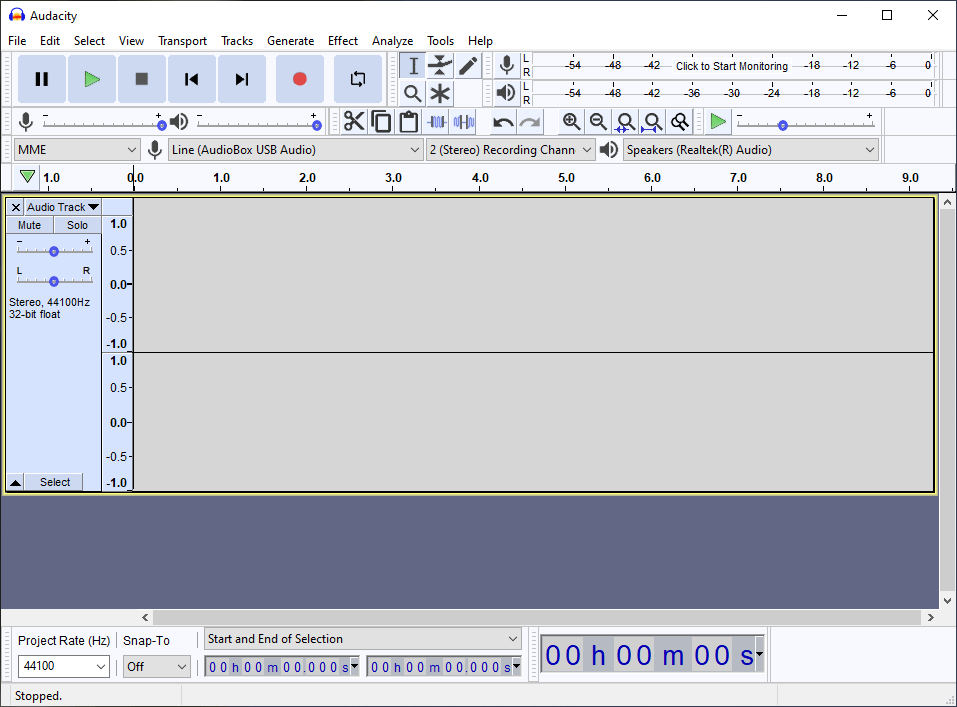
Mine came with StudioOne, but for this site I will try to focus on using open source or free software, when functions can’t be gotten on the free sources that I can get, I will use alternatives. For this site, we will work more with audacity. We’ll get into the more technical stuff with VSTs in other DAWs (and what DAW means) in another post.
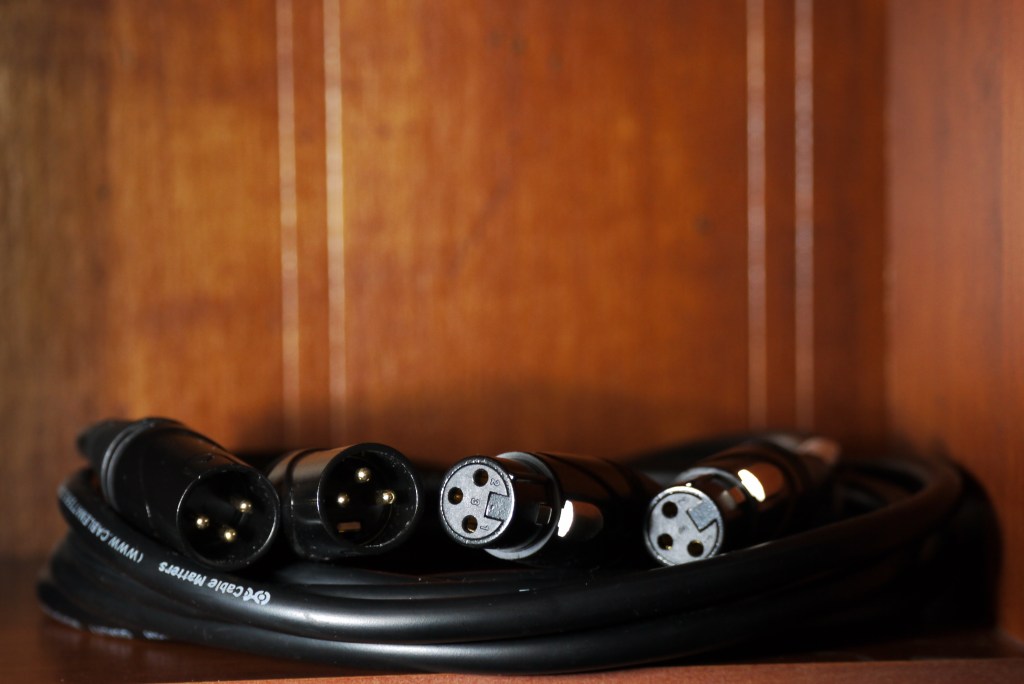
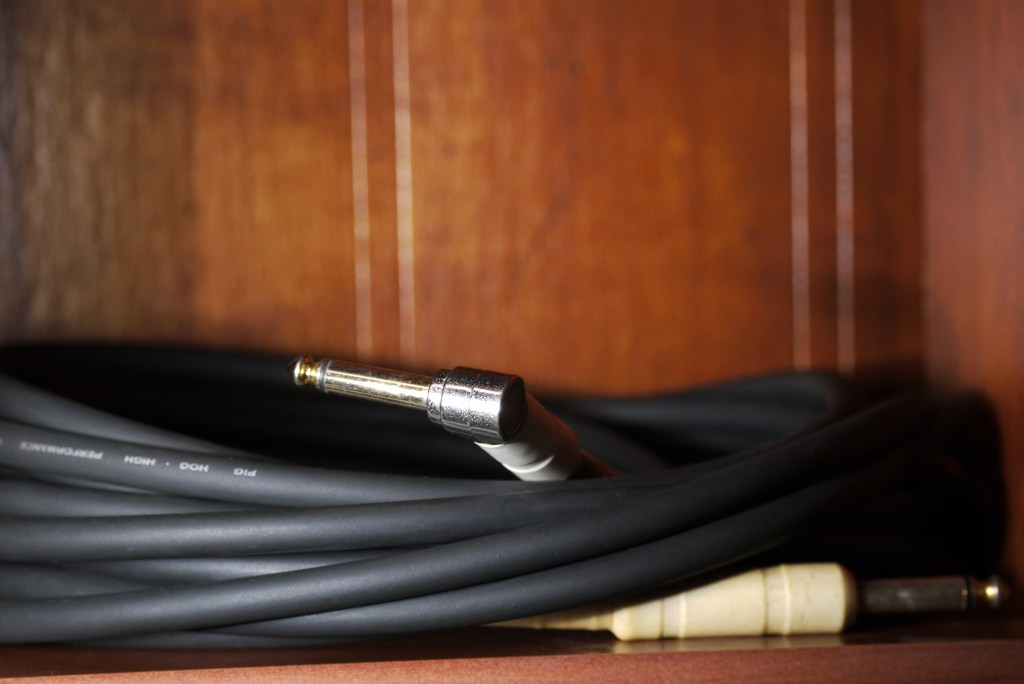
Another piece of hardware to get is the microphone and the cables to connect the microphone to the interface, the cables to connect the interface to the computer, and the cables to connect the interface to the audio output (for example headphones, or speakers.)
Method 2: Direct-In Through Digital Audio Interface (Electric Instruments)

You may have noticed that there are 2 inputs in my interface, Mic and Instrument. They differ in their audio sensitivities. The specifics don’t matter when you’re starting out, as you build your studio you should find out more for what you want and the equipment you have to work with. I will also make another post about it, and proper levels setup, in the future.
You might want to use your favorite pedal(s) and get as “pure” a sound as you can of them. The benefit is that later on you can digitally manipulate it further while starting with a comfortable base. For example, you might have a distortion pedal you enjoy and feel comfortable using, later on you can decide to add delay the recorded audio. Delay can be pretty intensive so maybe you don’t know what kind or what parameters to use, so you can go through all the variations to add on to your tone and “do it in post!”
(effects will also be heavily discussed in this blog as more posts come, so don’t worry if the concept of effects are new to you, I will go in depth in the future soon)

You can also just plug in the instrument dry and add in digital effects provided by the software or added on by the user through VSTs to get into the digital amps within your computer.
Method 3: Direct-In Through Effects Pedal Or Electronic Instrument
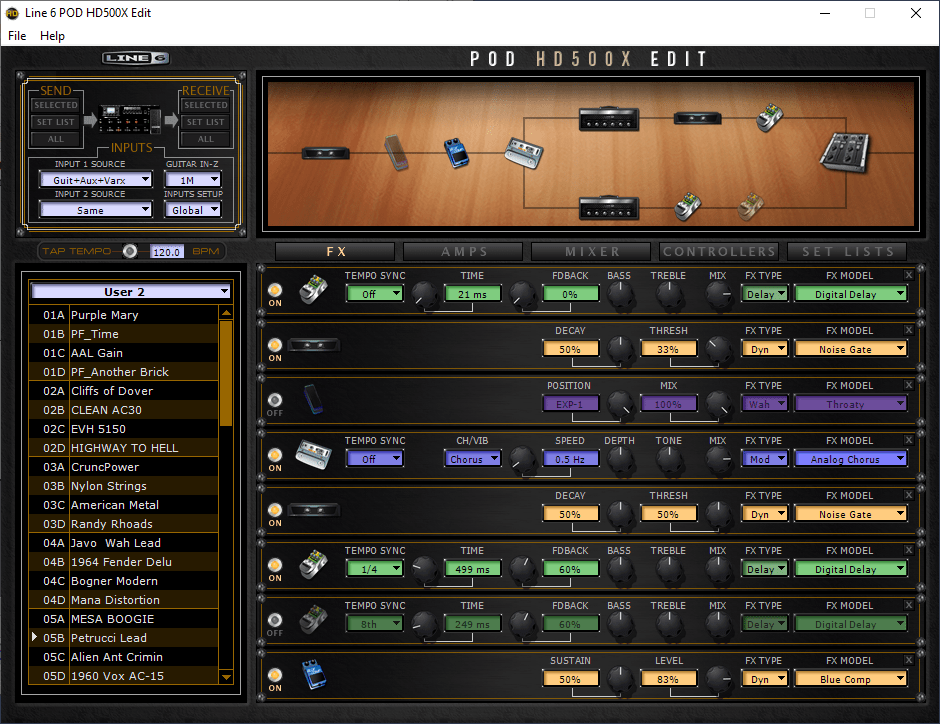
Some modern all-in-one effects units (line 6 PODs, Axe FX, Kemper, Headrush etc.) have the ability to record via USB with its full dedicated processing power, relieving your system from maybe running system intensive effects that could crash your system if you push it too far. The effects pedal/unit could take the place of the audio interface brought up in methods 1 and 2. Though it could also be connected to the interface with 1/4 inch cables, or XLR cables.
Some electric drum kits have the same functionality, where instead of capturing audio, it could be recording MIDI for you to set things up how you want later. In my honest opinion, MIDI is one of the greatest advancements in audio and music composition. At it’s core, it is like a stem cell, given the right push it become almost anything. With MIDI you can write drum track, piano, guitar or any instrument you can think of. It’s why an electric keyboard has a couple drum kits, synth pads, pianos, guitars, and so on all in one device. It’s basically the standard notation of music for a computer to read.
The big benefit of working with a digital platform like those is the ability to edit in a computer to fine tune parameters. You can create a new synth sound. You can change the hit of the hi-hat. You can create your own signal chain, from beginning to end, the only limit being your imagination. What’s a signal chain? That will be a very comprehensive blog soon! For now it’s just the path from instrument to the sound coming out through the speaker. Down below it splits up and is panned left and right for a stereo sound. What’s that mean? Stay tuned!
Method 4: Anything With A Microphone
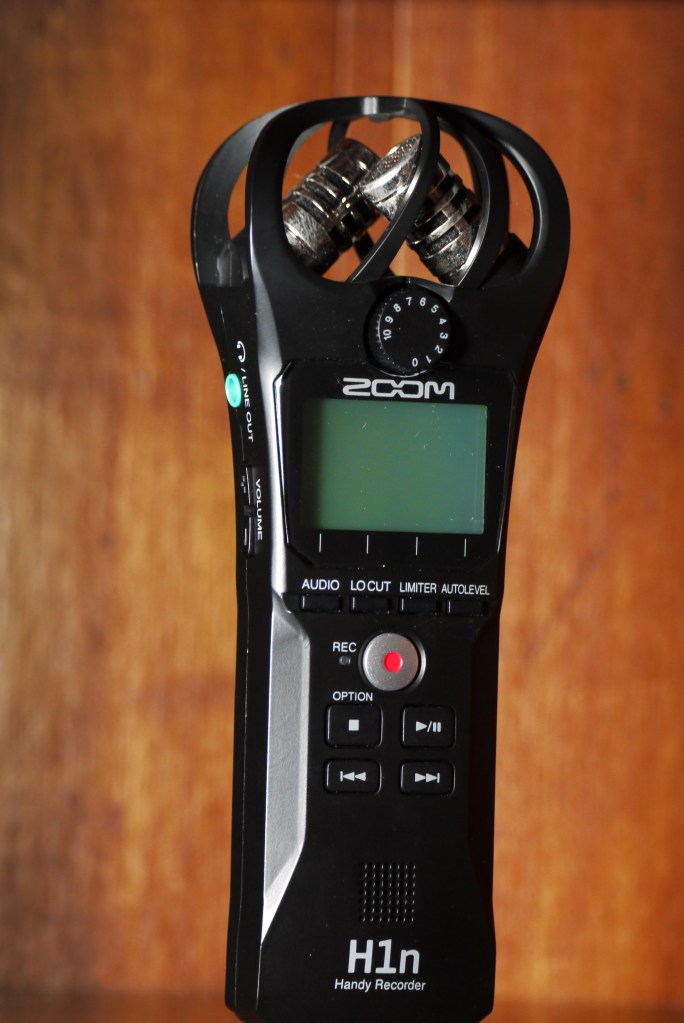
I have a couple devices I use because I am crazy, but also like to have something reliable to record with within reach. The device you’re reading this on, whether a computer, your phone or your smart fridge, there’s an audio recording function that you can take advantage of. It might be called “memo”, “voice recorder” or something but there should be a utility to record audio, if not, there is always an app for that. (I will try not to recommend specific apps since apps get sold and change so I can’t reliably recommend an app to always be good. I’ve had great apps I bought being sold to another company that takes away features behind another pay wall. The only way to be sure you have a safe recording function that’s not tracking more than it should (like through your phone collecting more than audio…) is to get a dedicated device, or look careful into apps for their data collection habits to find something safe. There have been stories of people losing data to dumb flashlight apps so be careful!)
The smarter devices follow the rule of “jack of all trades, master of none”, which is why I got a dedicated audio recorder without the “brain” of smart devices to slow me down.
Me no want brain, brain make slow. Just record!
What’s the best???
Truly, the best one to use is the one you have access to. Though there are some pros and cons, and whether it’s even a pro or a con is up for debate, but you find what you can work with and experiment. Do you really wanna get as dry a signal as you can? Would you like to record dry AND wet tracks? You can even mix and match methods for creating a double track or for testing ideas.
Unlike with methods 1 and 4, Methods 2 and 3 brings no worry of mic placement (unless your digital effects unit can take it into account.)
Methods 2 and 3 essentially work with anything with wirings of pickups since it’s about going directly in. Methods 1 and 4 are about working with a microphone, if it makes sound, it’ll record it
My first recorded songs were recorded with an insanely cheap mp3 player, the kind you could probably get at a vending machine now. I recorded every track individually with the poor built-in mic and synced them all up, it wasn’t a masterpiece and it wasn’t supposed to be. I was still learning with the tools at my disposal.
As long as audio can be captured it may be good as a sort of notepad of ideas. That’s why visual artists have sketch pads vs canvases with them everywhere they go

One thought on “Intro to Recording Audio”